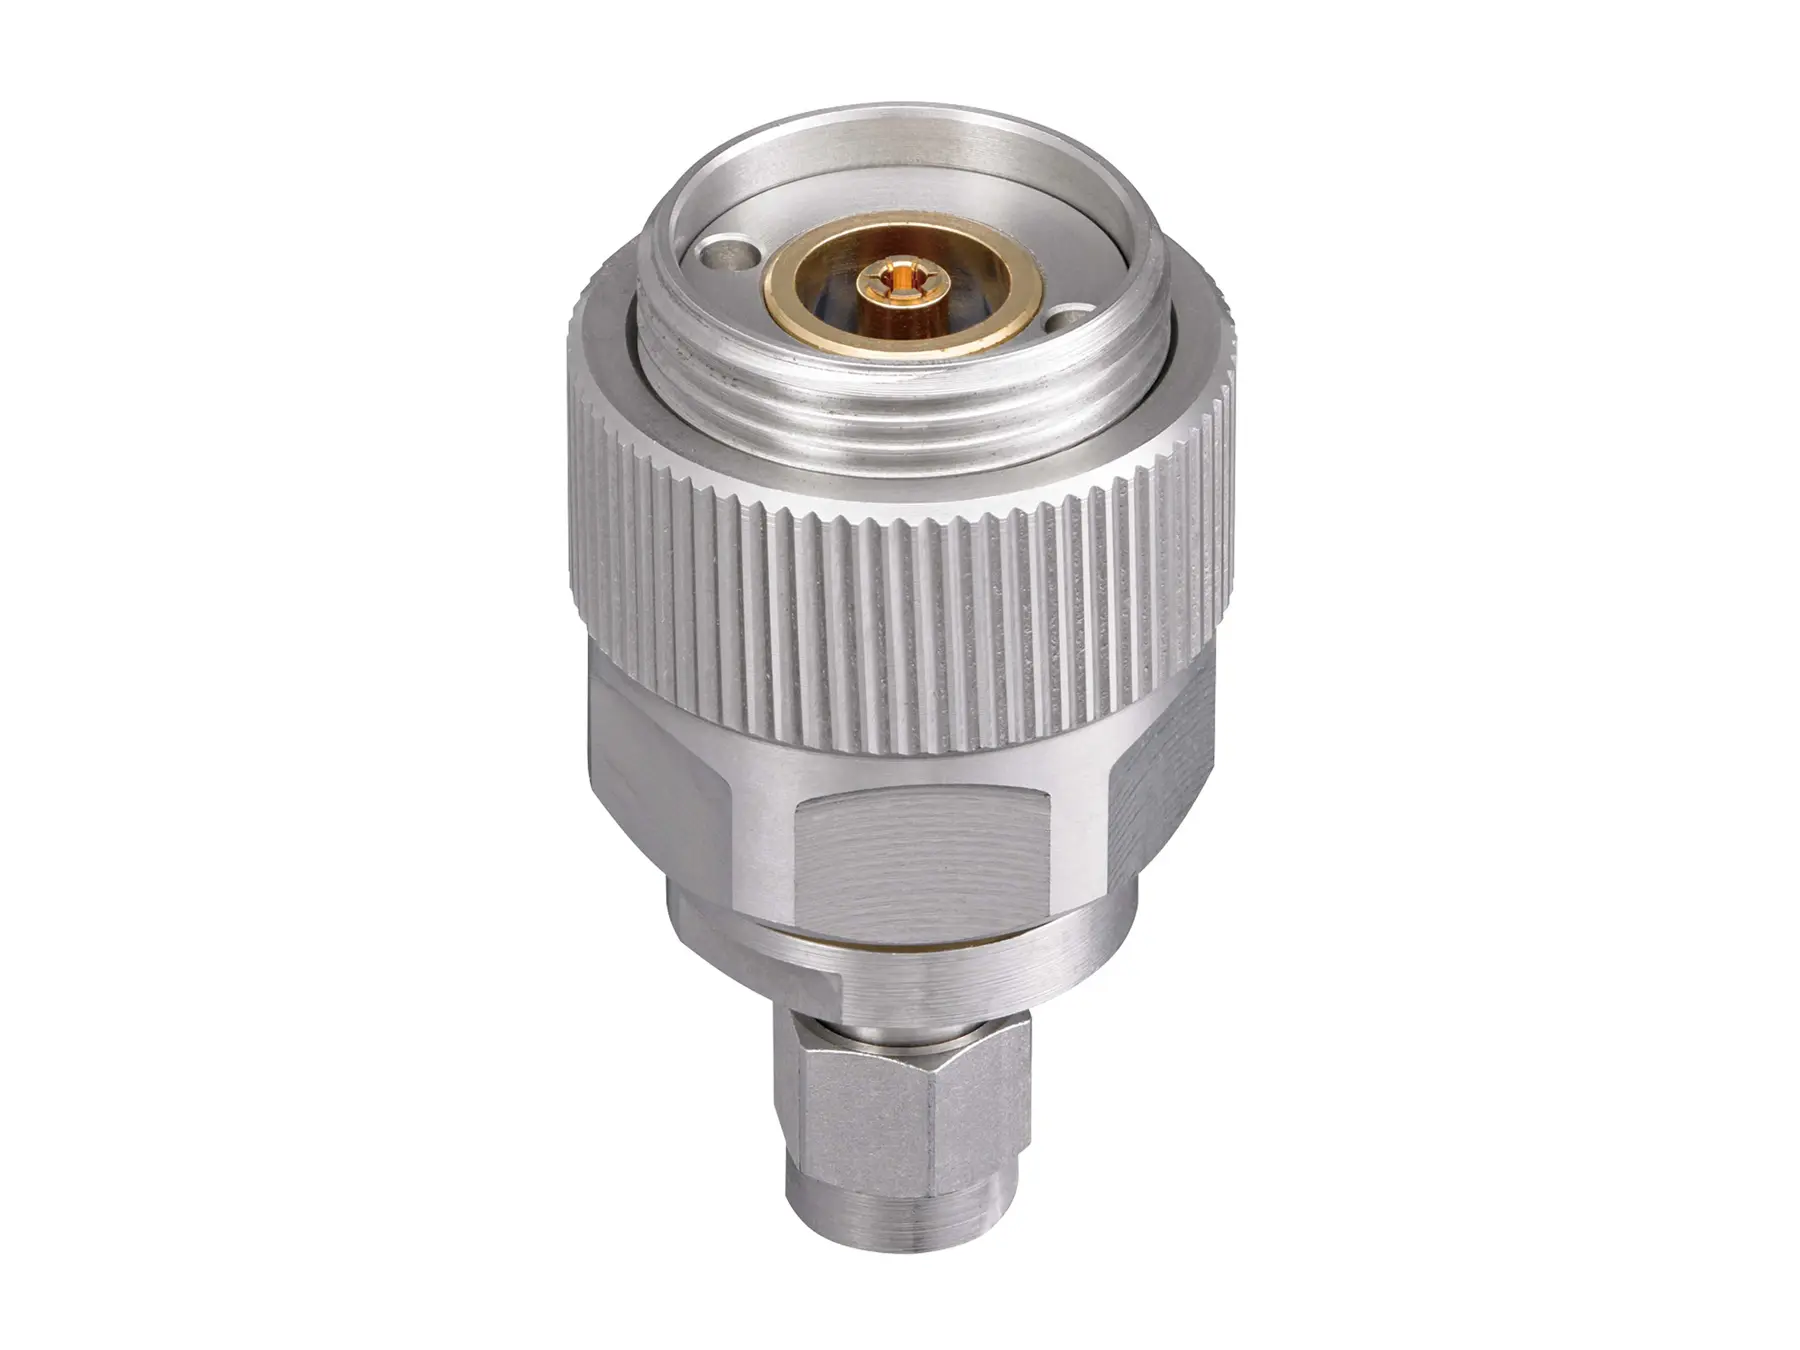
Product information IM9906 - 7 mm (APC-7) to 3.5 mm Adapter
The IM9906 adapter features a 7 mm (APC-7) connection on one side and a 3.5 mm male
connector on the other side. It is used to connect 7 mm calibration standards or test fixtures
to measurement systems with a 3.5 mm test head, including HIOKI impedance analyzers
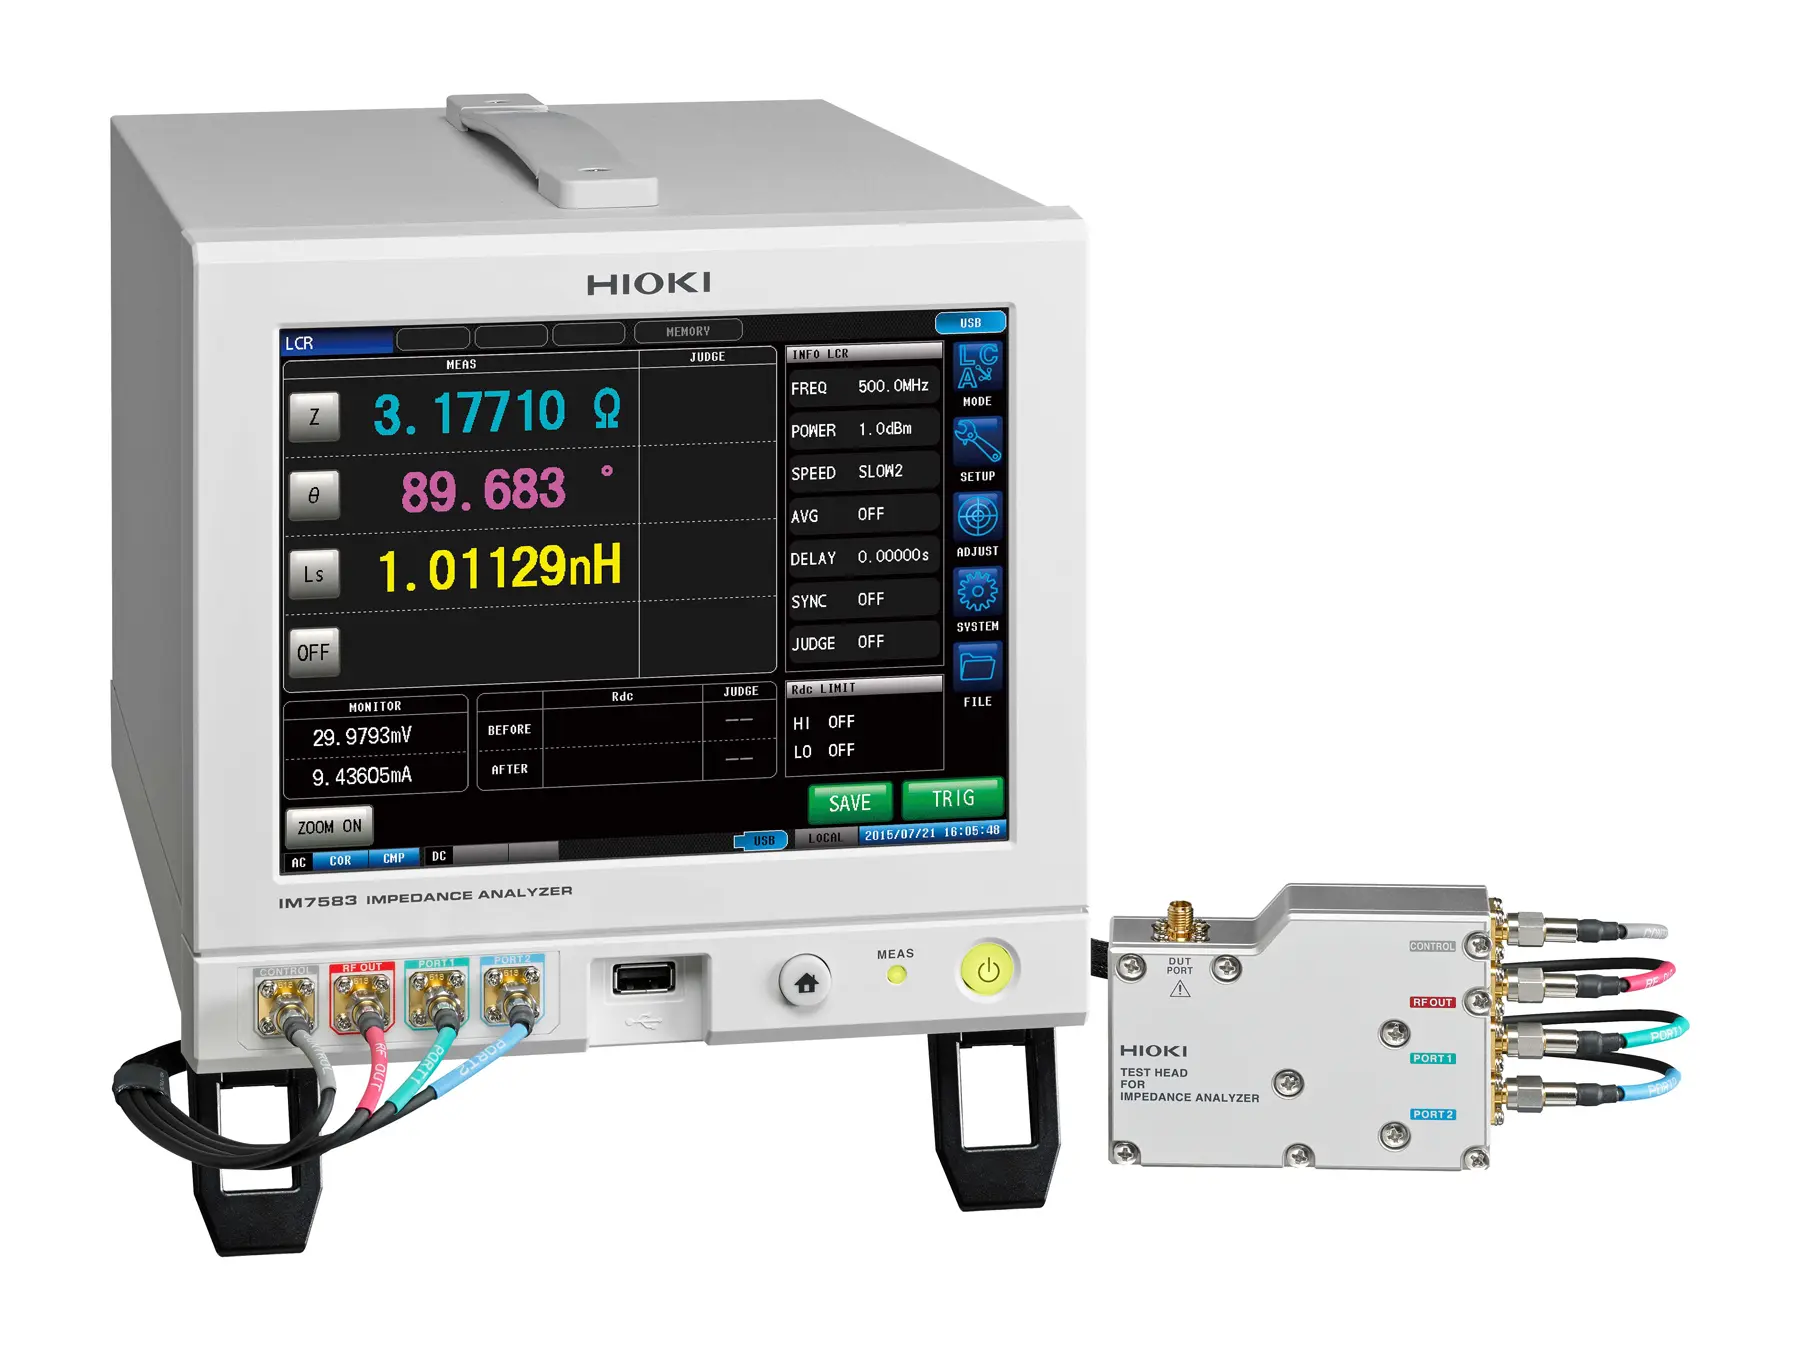
such as the IM7587, IM7585, IM7583 and IM7581.
The 7 mm (APC-7) interface is commonly used in high-frequency metrology for calibration
standards and impedance test fixtures. The 3.5 mm interface is a precision coaxial connector
used for RF and impedance measurements and is mechanically compatible with SMA
connectors, but differs in construction by using an air dielectric instead of a solid dielectric.
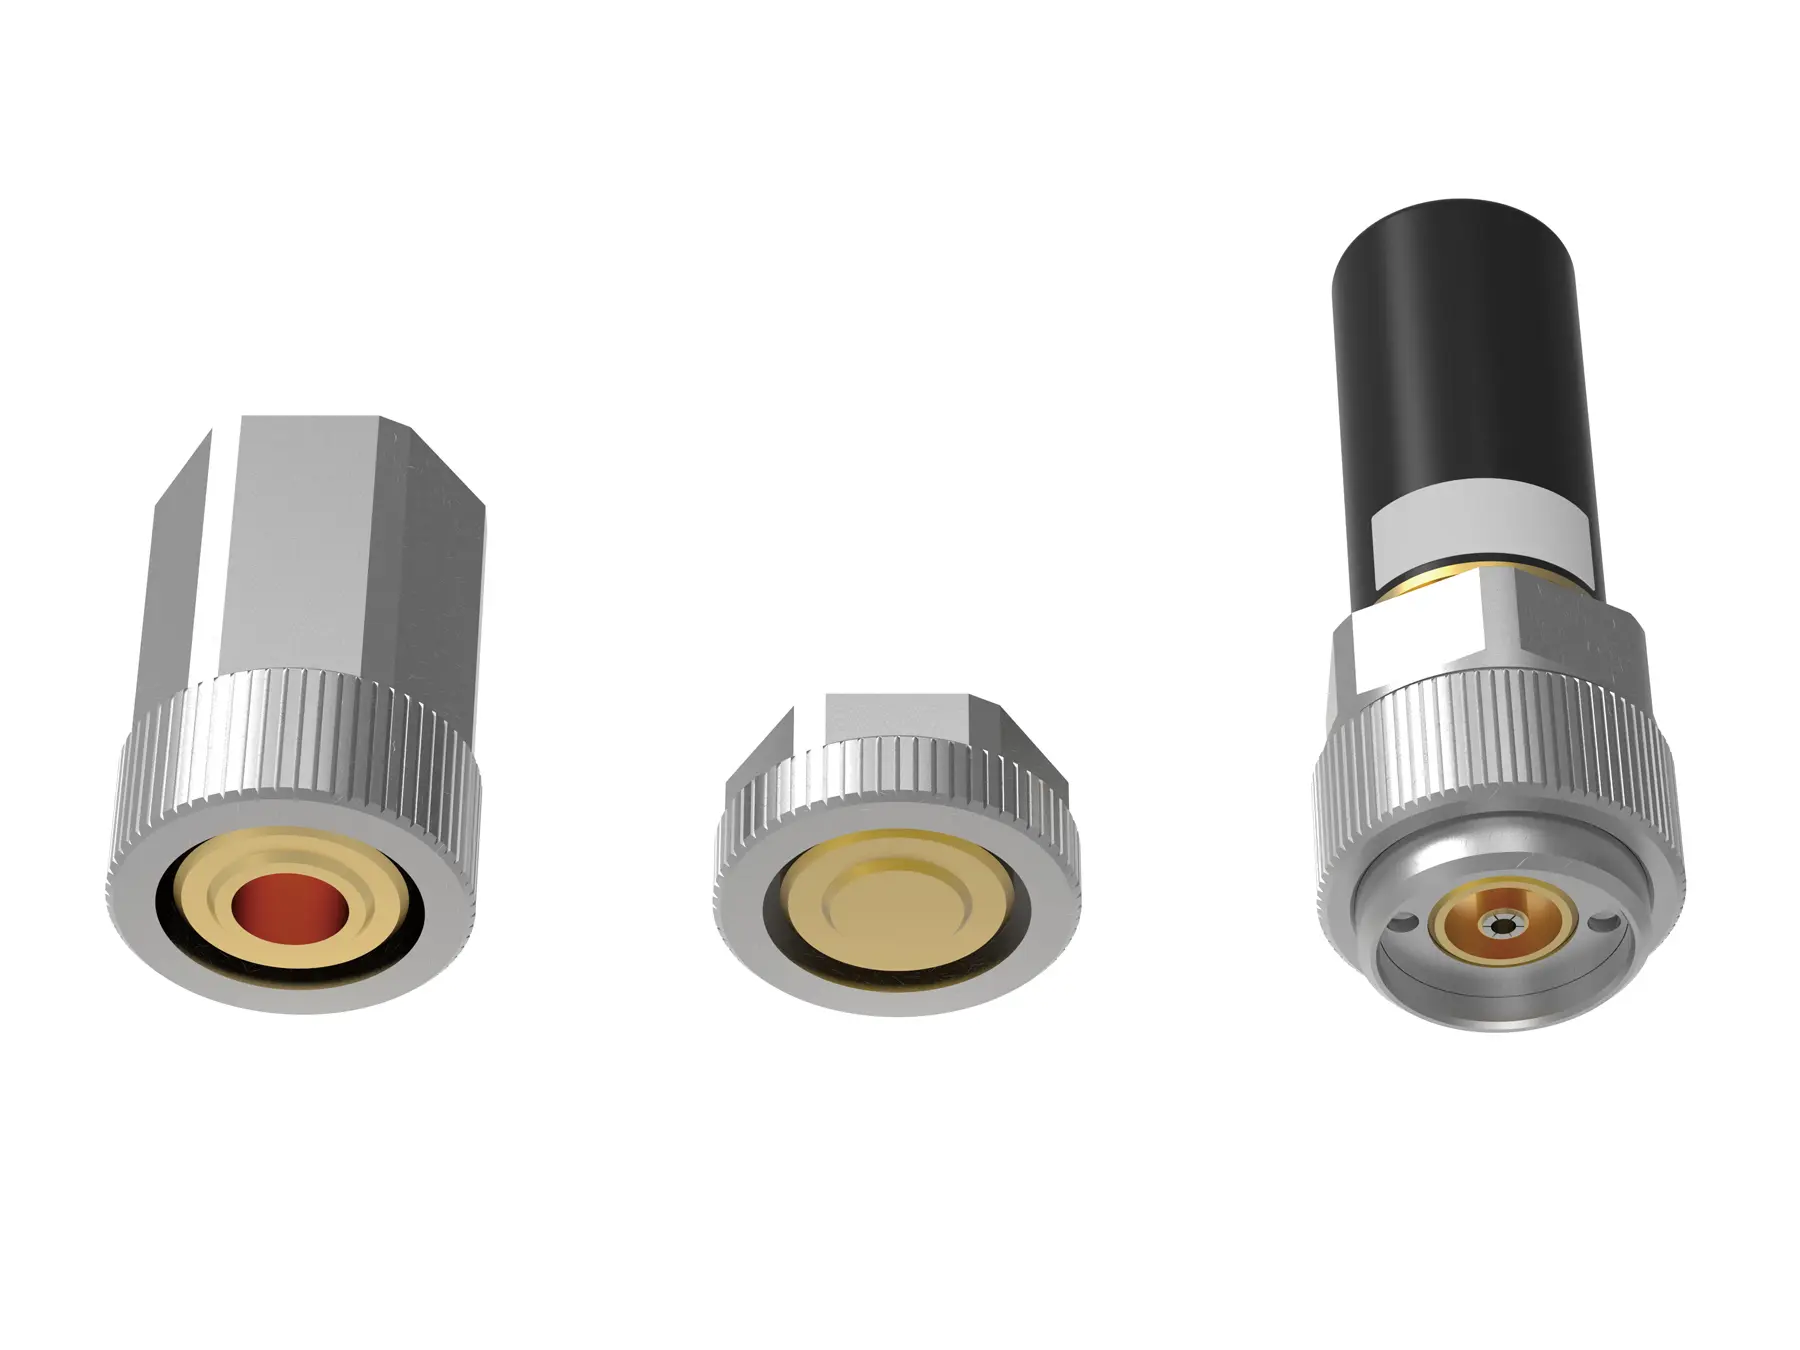
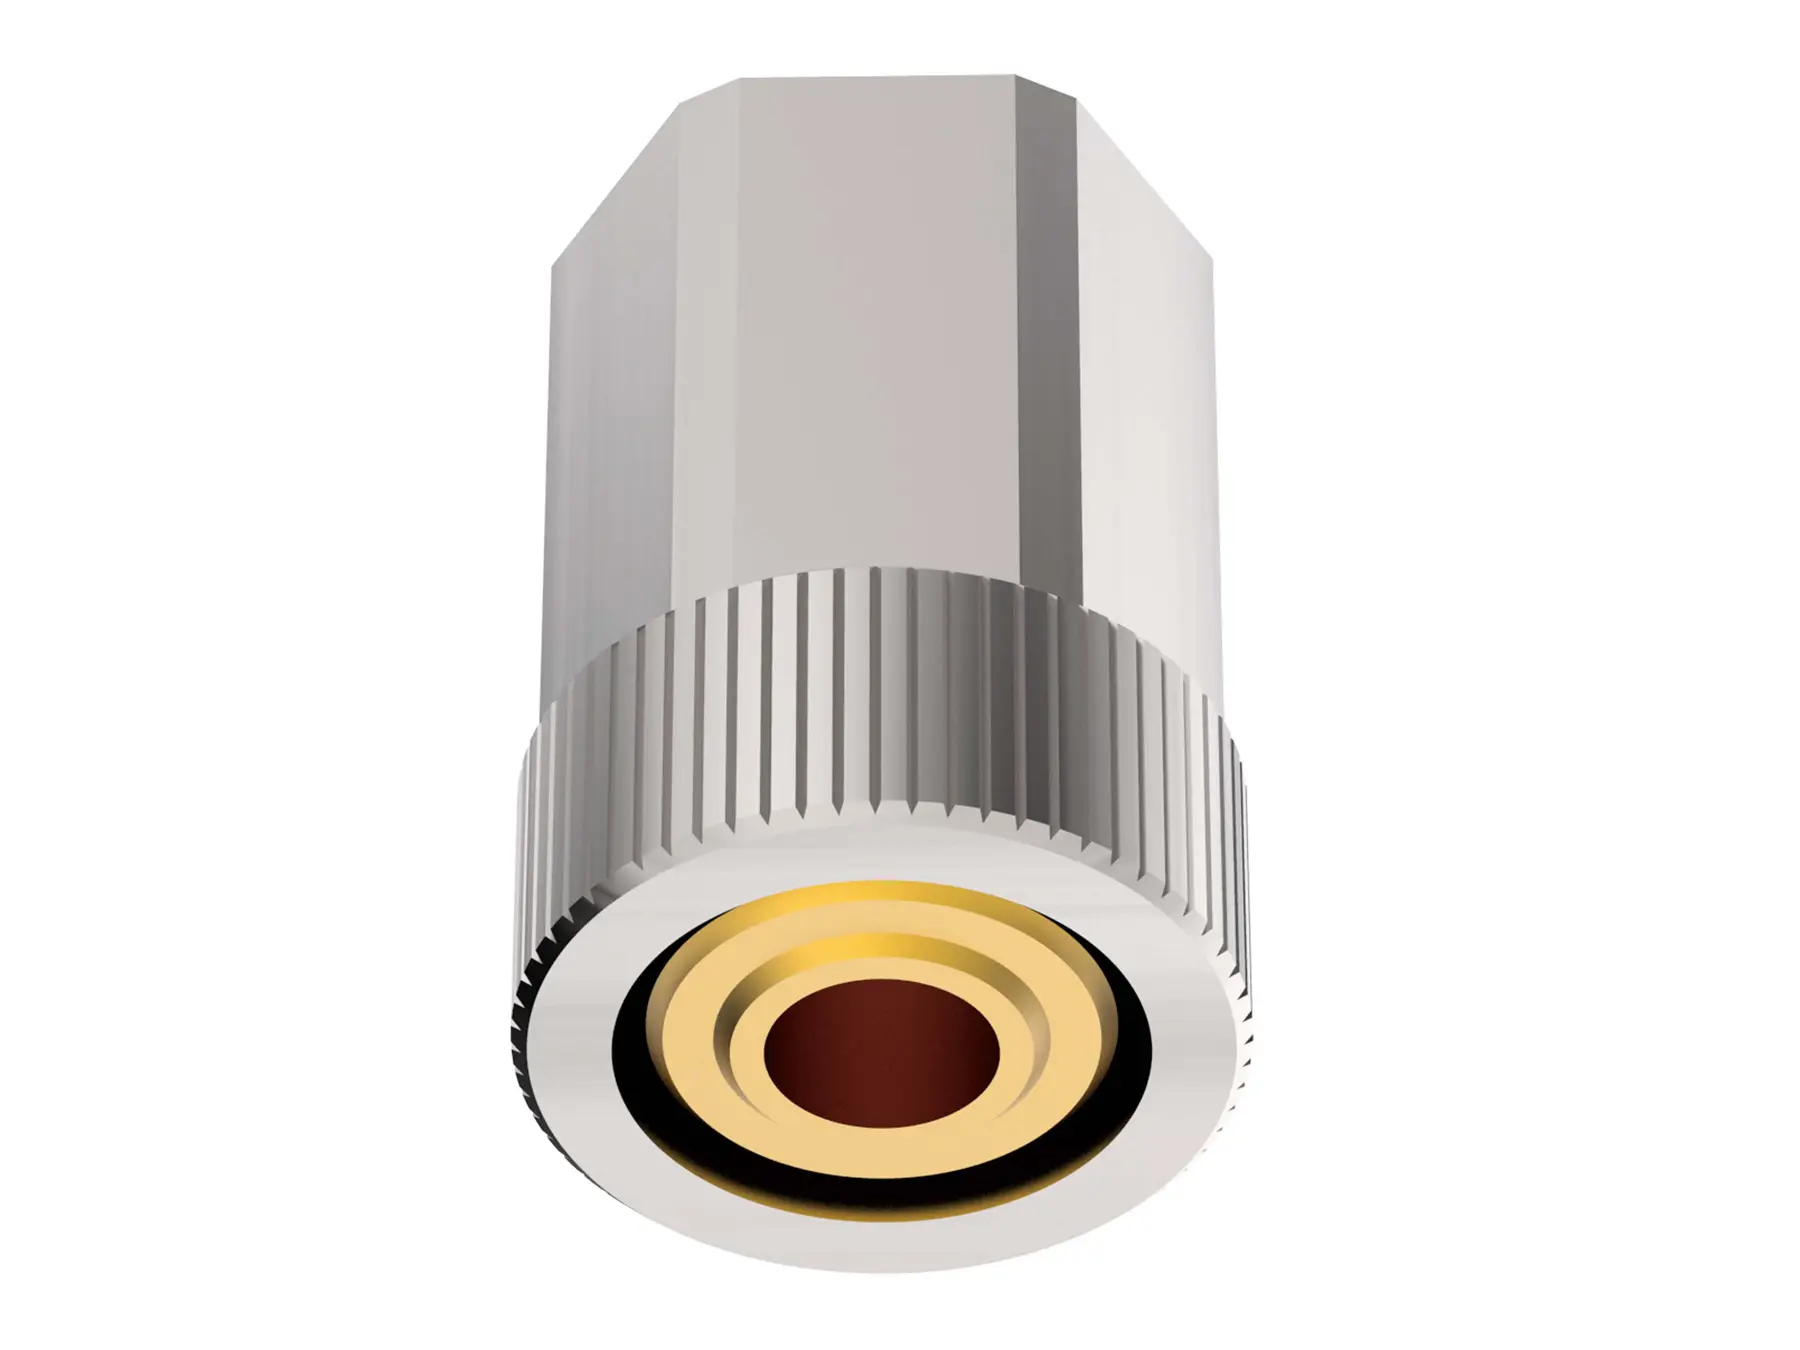
The IM9905 calibration kit provides OPEN, SHORT and LOAD standards for calibration of
HIOKI impedance analyzers with two-terminal measurement capability at the 7 mm (APC-7)
reference plane. These standards are used to correct systematic measurement errors in the
measurement path up to this reference plane. For calibration of impedance measurement systems, the 7 mm (APC-7) reference plane is
commonly applied in high-frequency metrology. When calibration is performed on systems
with a 3.5 mm test head, such as those of the HIOKI IM7587, IM7585, IM7583 or IM7581, a
suitable adapter is required to establish the 7 mm reference plane. The adapter provided by
HIOKI for this purpose is the IM9906.
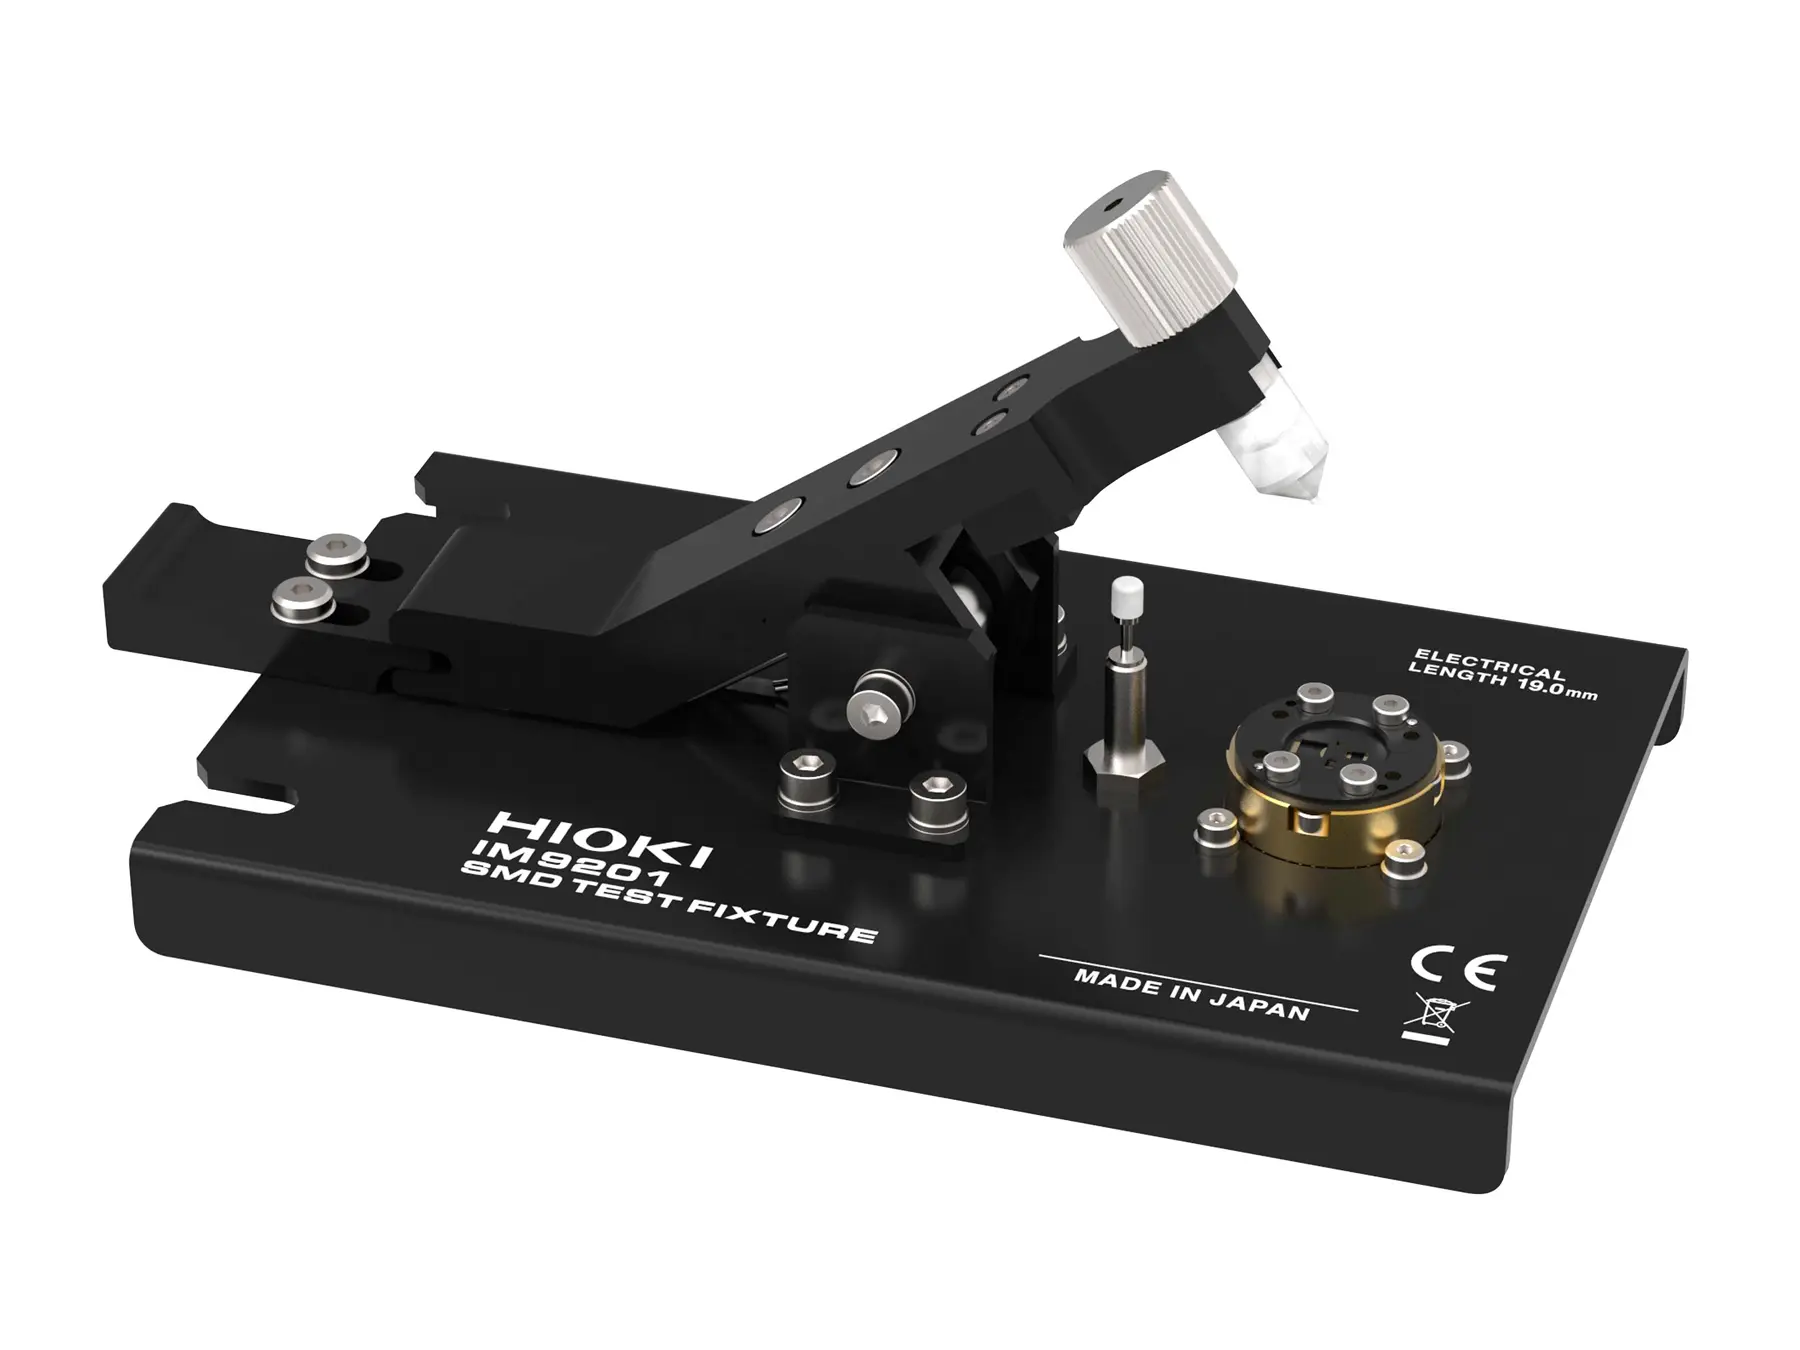
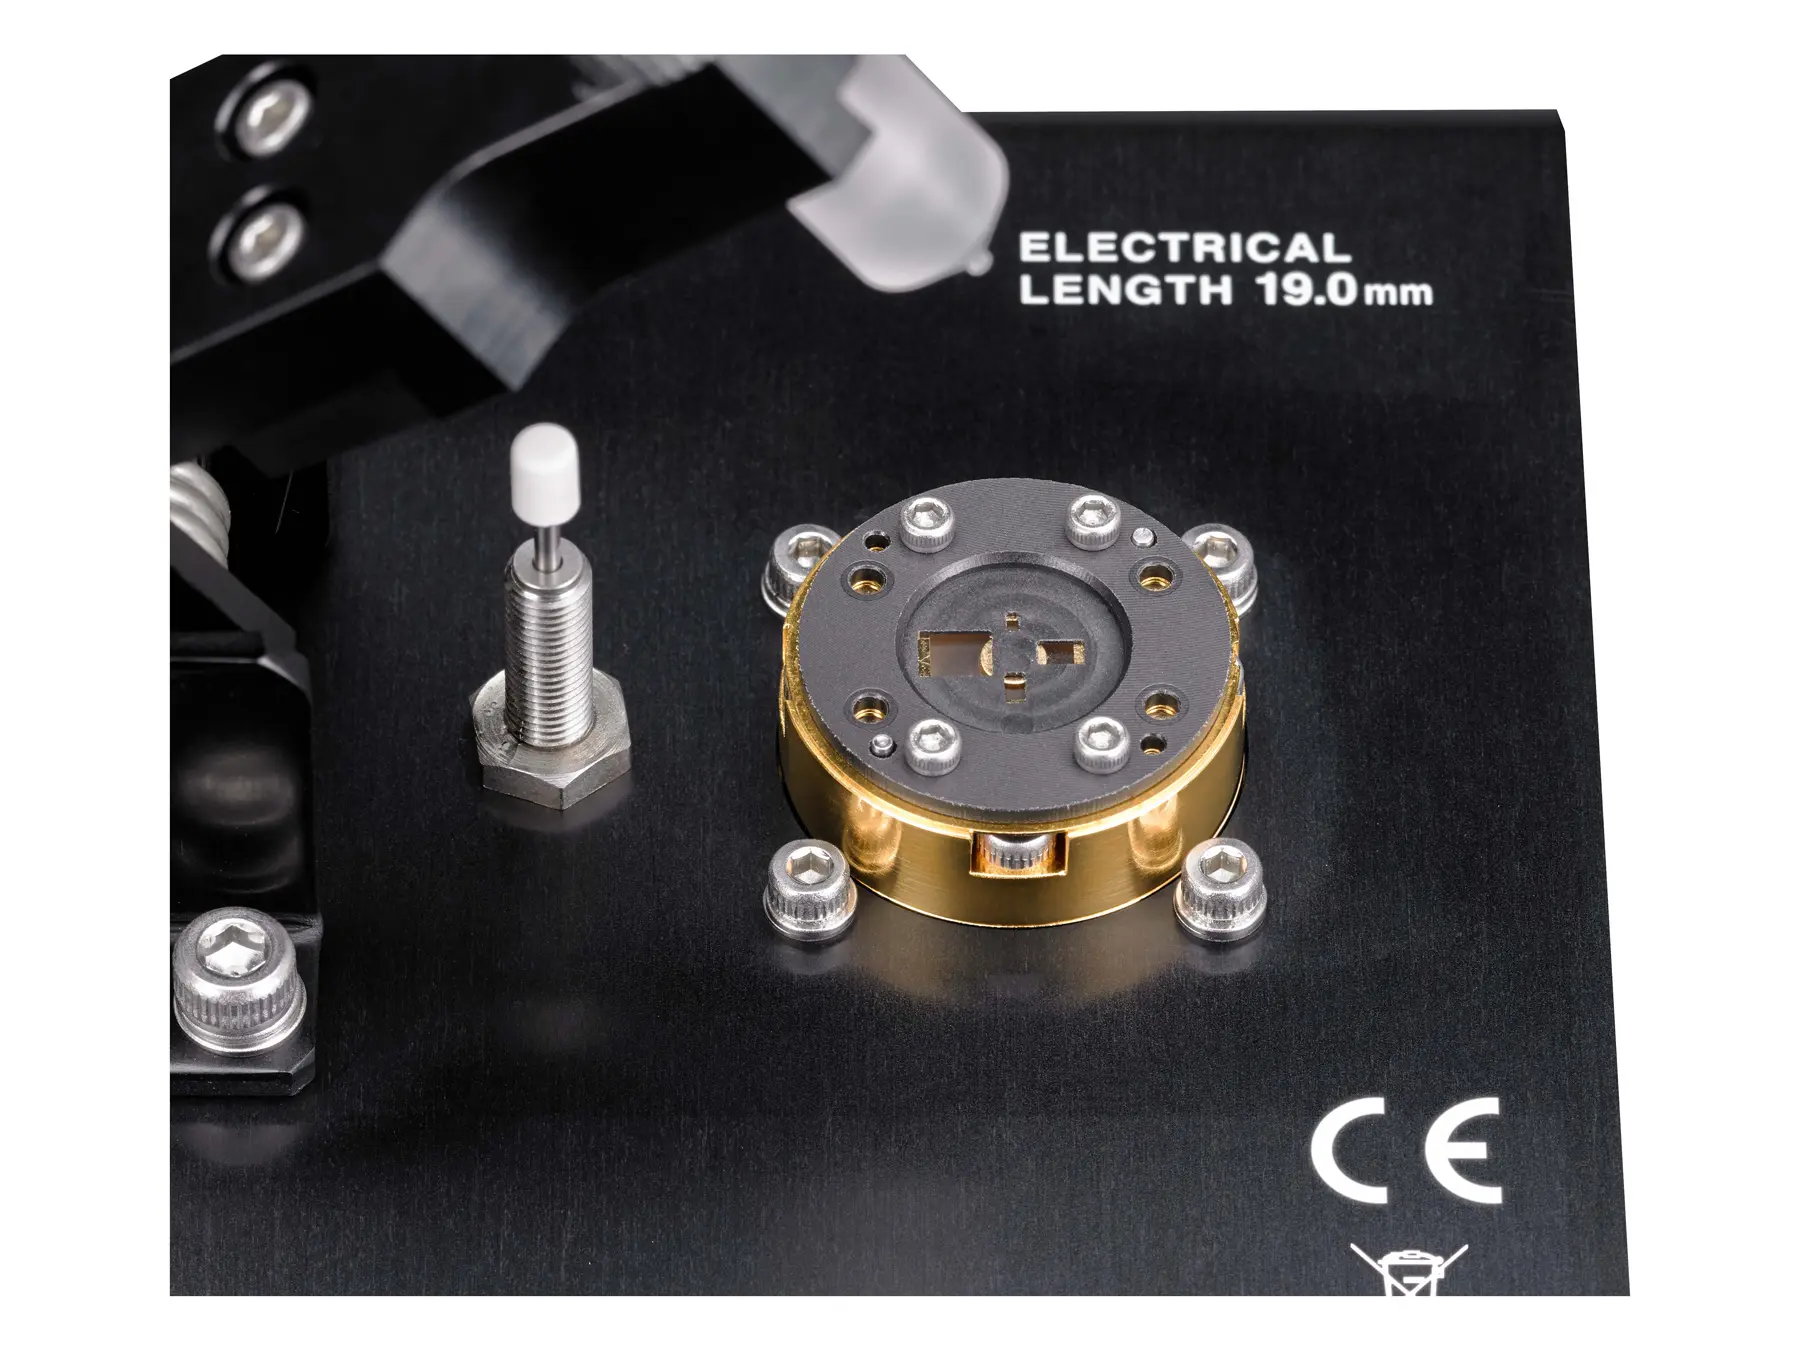
The IM9201 SMD test fixture is designed for impedance measurements of surface-mount
components (SMD) in combination with HIOKI impedance analyzers that support twoterminal measurement configurations. It supports measurements up to 3 GHz and
accommodates SMD component sizes from EIA0201 to EIA1210.The IM9201 supports measurements up to 3 GHz, which aligns with the frequency range of
high-frequency impedance analyzers such as the IM7587 and IM7585. The test fixture can
also be used with impedance analyzers featuring lower maximum measurement frequencies,
such as the IM7583 or IM7581, when measurements of small SMD component sizes below
EIA0603 are required.For stable operation, the IM9201 is mounted on the IM9200 stand, which provides a secure
base and defined mechanical alignment between the analyzer test head and the test fixture.
Handling of small SMD components is further facilitated by the magnifier supplied with the
IM9200 stand. Electrical connection to the analyzer test head is performed via the 7 mm
interface of the test fixture. The IM9906 adapter is required to connect the 7 mm interface of
the test fixture to the analyzer test head’s 3.5 mm connector. The IM9201 is supplied with a carrying case designed for storage and transport of the test
fixture and its included accessories. The carrying case also provides dedicated space for
optional accessories such as the IM9906 adapter and IM9905 calibration standards, allowing
related components to be stored together when required.
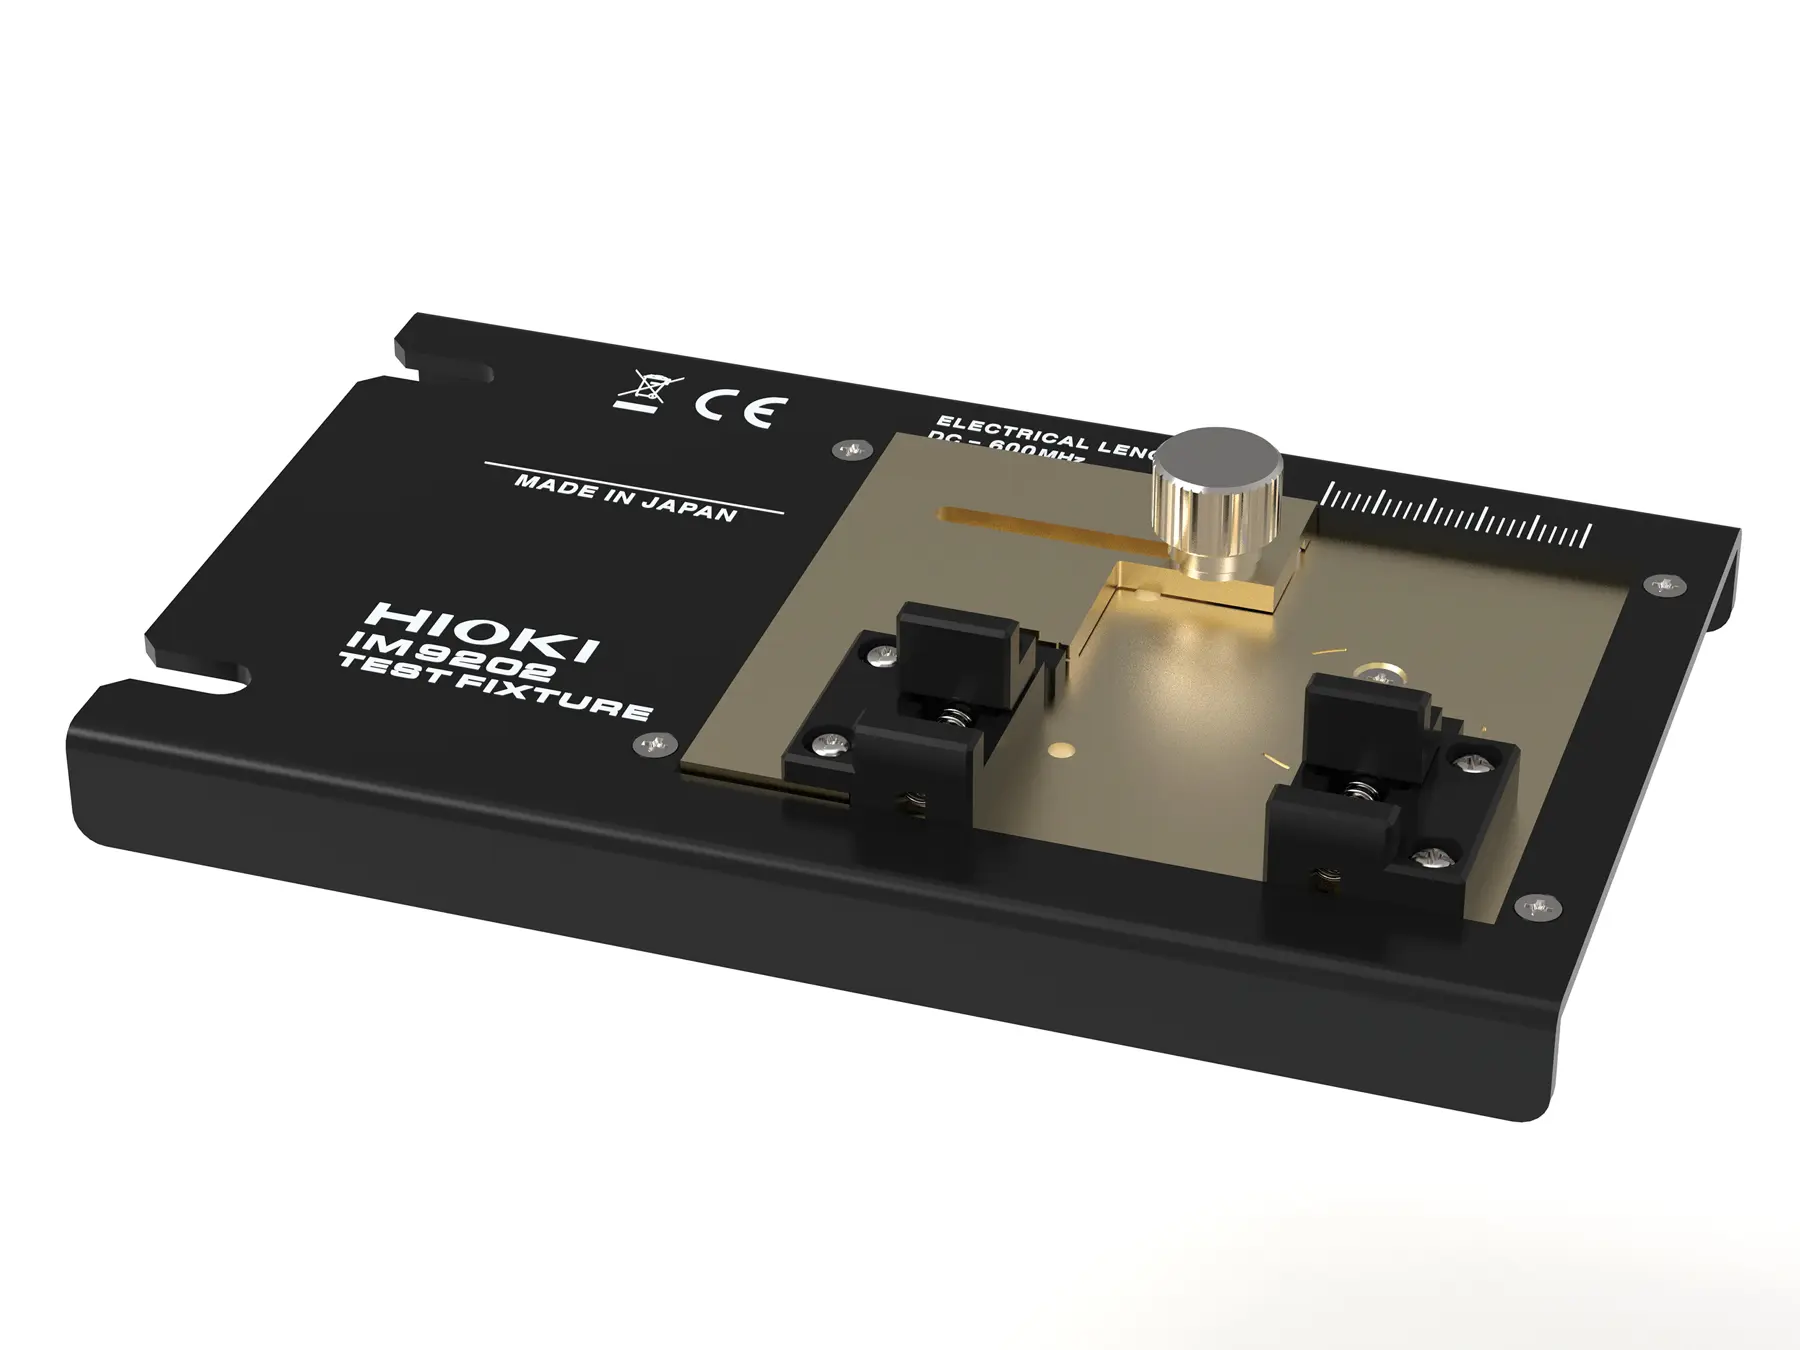
The IM9202 test fixture is designed for two-terminal impedance measurements of axial and
radial leaded components as well as surface-mount components (SMD). It supports
measurements up to 600 MHz and is used in combination with HIOKI impedance analyzers,
including IM7587, IM7585, IM7583 and IM7581. Axial leaded components with lead spacing from 1 mm to 25 mm and radial leaded
components with lead spacing from 2 mm to 26 mm can be measured, as defined by the
fixture geometry. Supported SMD component sizes are EIA0603 (Electronic Industries
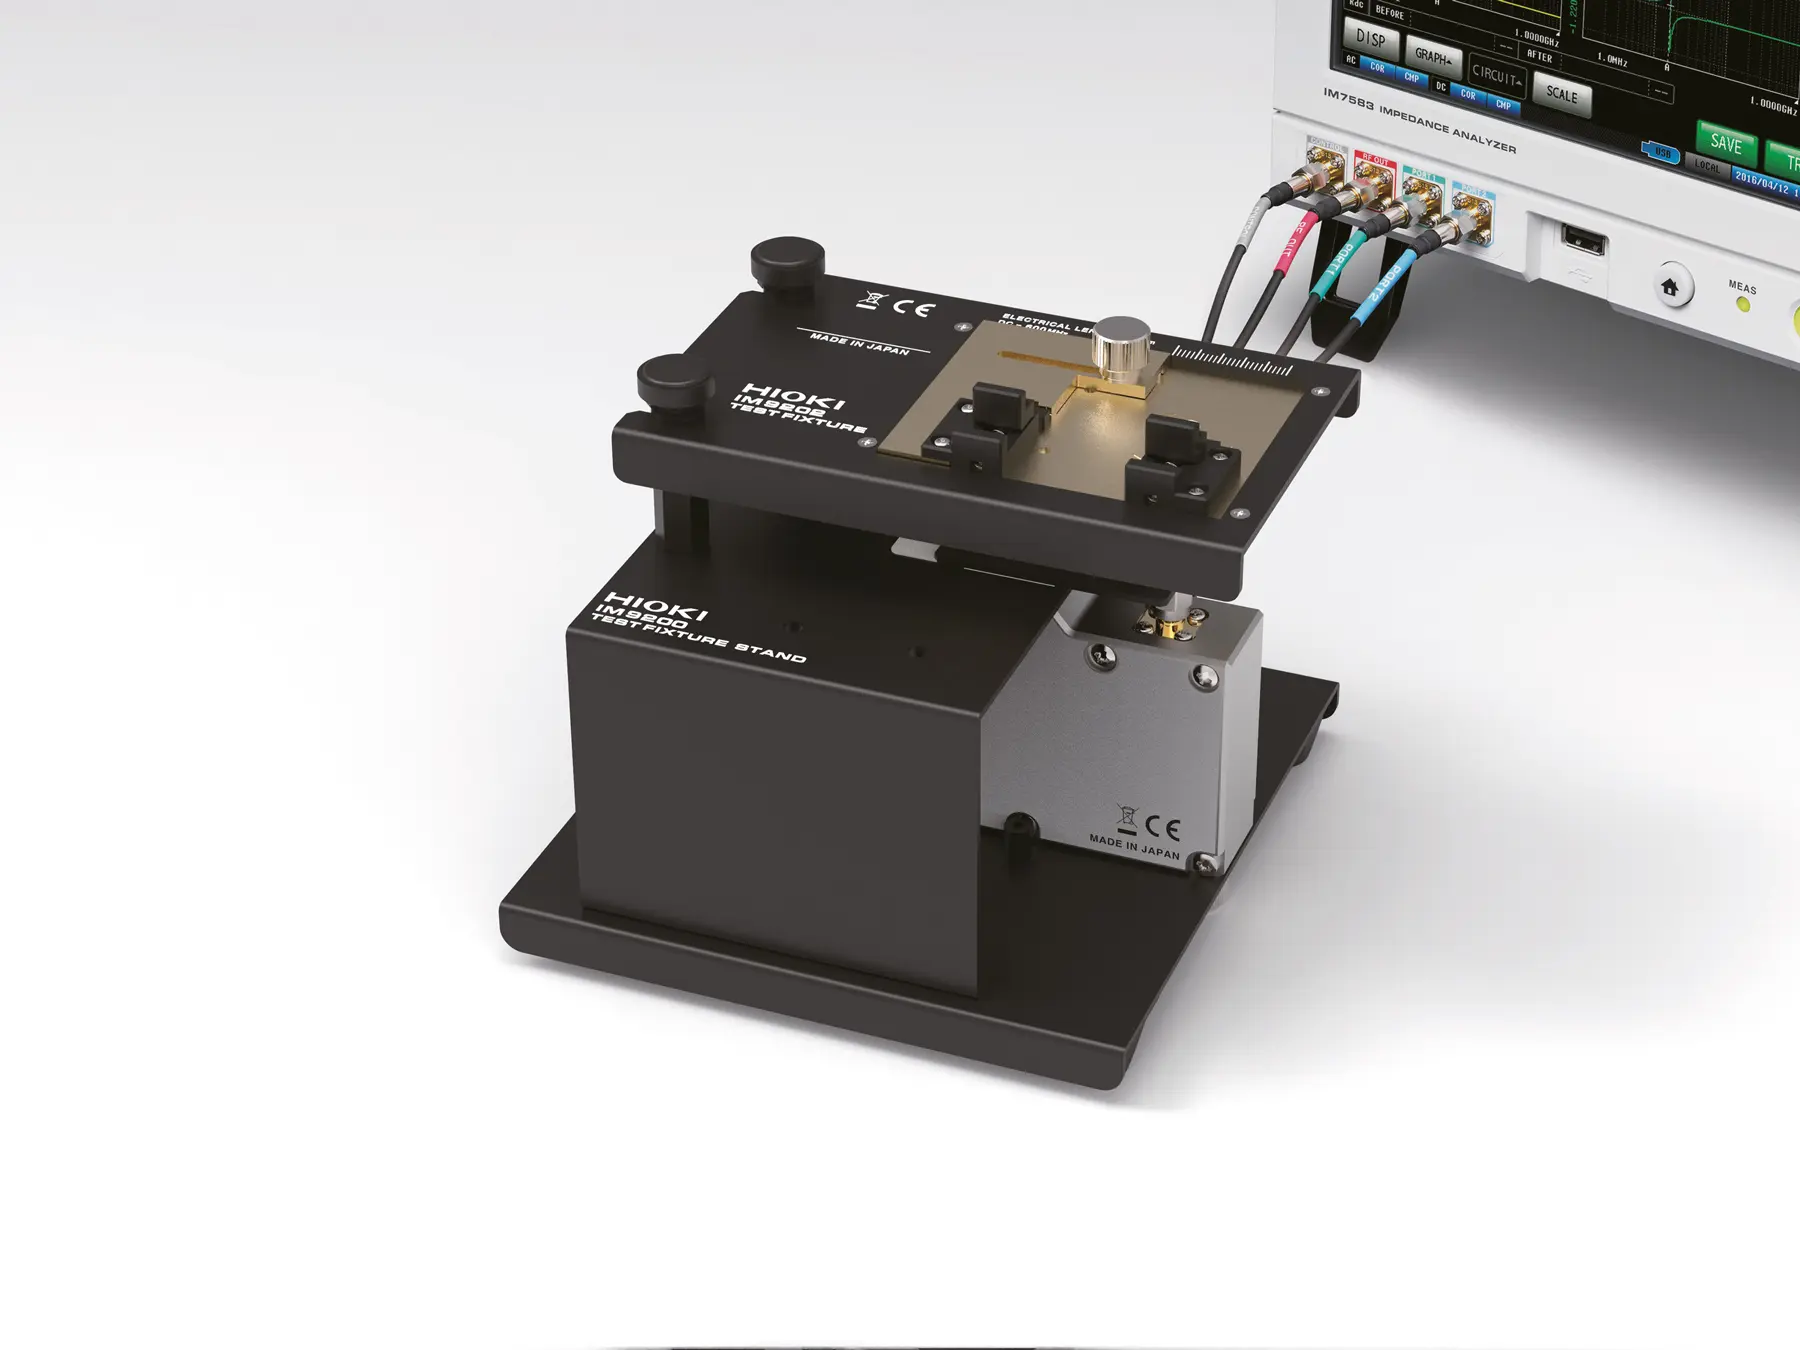
Alliance) and larger. For stable operation, the IM9202 is mounted on the IM9200 stand, which provides a secure
base and defined mechanical alignment between the test head and the fixture and supports
handling of small components. Electrical connection to the analyzer test head is performed
via the 7 mm interface of the test fixture. The IM9906 adapter is required to connect the 7
mm interface of the test fixture to the analyzer test head’s 3.5 mm connector. The IM9202 is supplied with a carrying case designed for storage and transport of the test
fixture and its included accessories. The carrying case also provides dedicated space for
optional accessories such as the IM9906 adapter and IM9905 calibration standards, allowing
related components to be stored together when required.
Key SpecificationsMeasurement frequency: 1 MHz to 3 GHz Typical analog measurement time: 0.5 msBasic accuracy: ±0.65% (Z, reading), ±0.38°(Phase) Typical repeatability: ±0.07% (e.g., 1 nH at 3 GHz) Test signal levels: −40.0 dBm to +1.0 dBm Typical ApplicationsR&D characterization of RF components such as chip inductors, ferrite beads, filters,
resonators and piezoelectric devices Frequency-dependent impedance analysis for component and circuit design Resonance and peak evaluation of piezoelectric and RF components Automated pass/fail testing of high-frequency components in R&D and production
environments ModelIM7587IM7585IM7583Measurement frequency1 MHz to 3 GHz1 MHz to 1.3 GHz1 MHz to 600 MHz
Detailed Product OverviewImpedance measurements up to 3 GHz enable analysis of RF components, for example in
wireless communication applications. With a frequency range from 1 MHz to 3 GHz, the
IM7587 supports characterization of components such as chip inductors, ferrite beads, filters,
resonators and matching networks in RF circuit design. Measurement Performance and Analysis Functions
With a basic accuracy of ±0.65% of impedance and ±0.38° of phase, the IM7587 is designed
for precise impedance measurements up to 3 GHz. Typical repeatability of approximately
±0.07% supports reproducible measurement results under defined conditions across its
entire frequency range. A typical measurement time of 0.5 ms enables fast frequency sweeps
without compromising measurement stability. Test signal levels from −40.0 dBm to +1.0 dBm
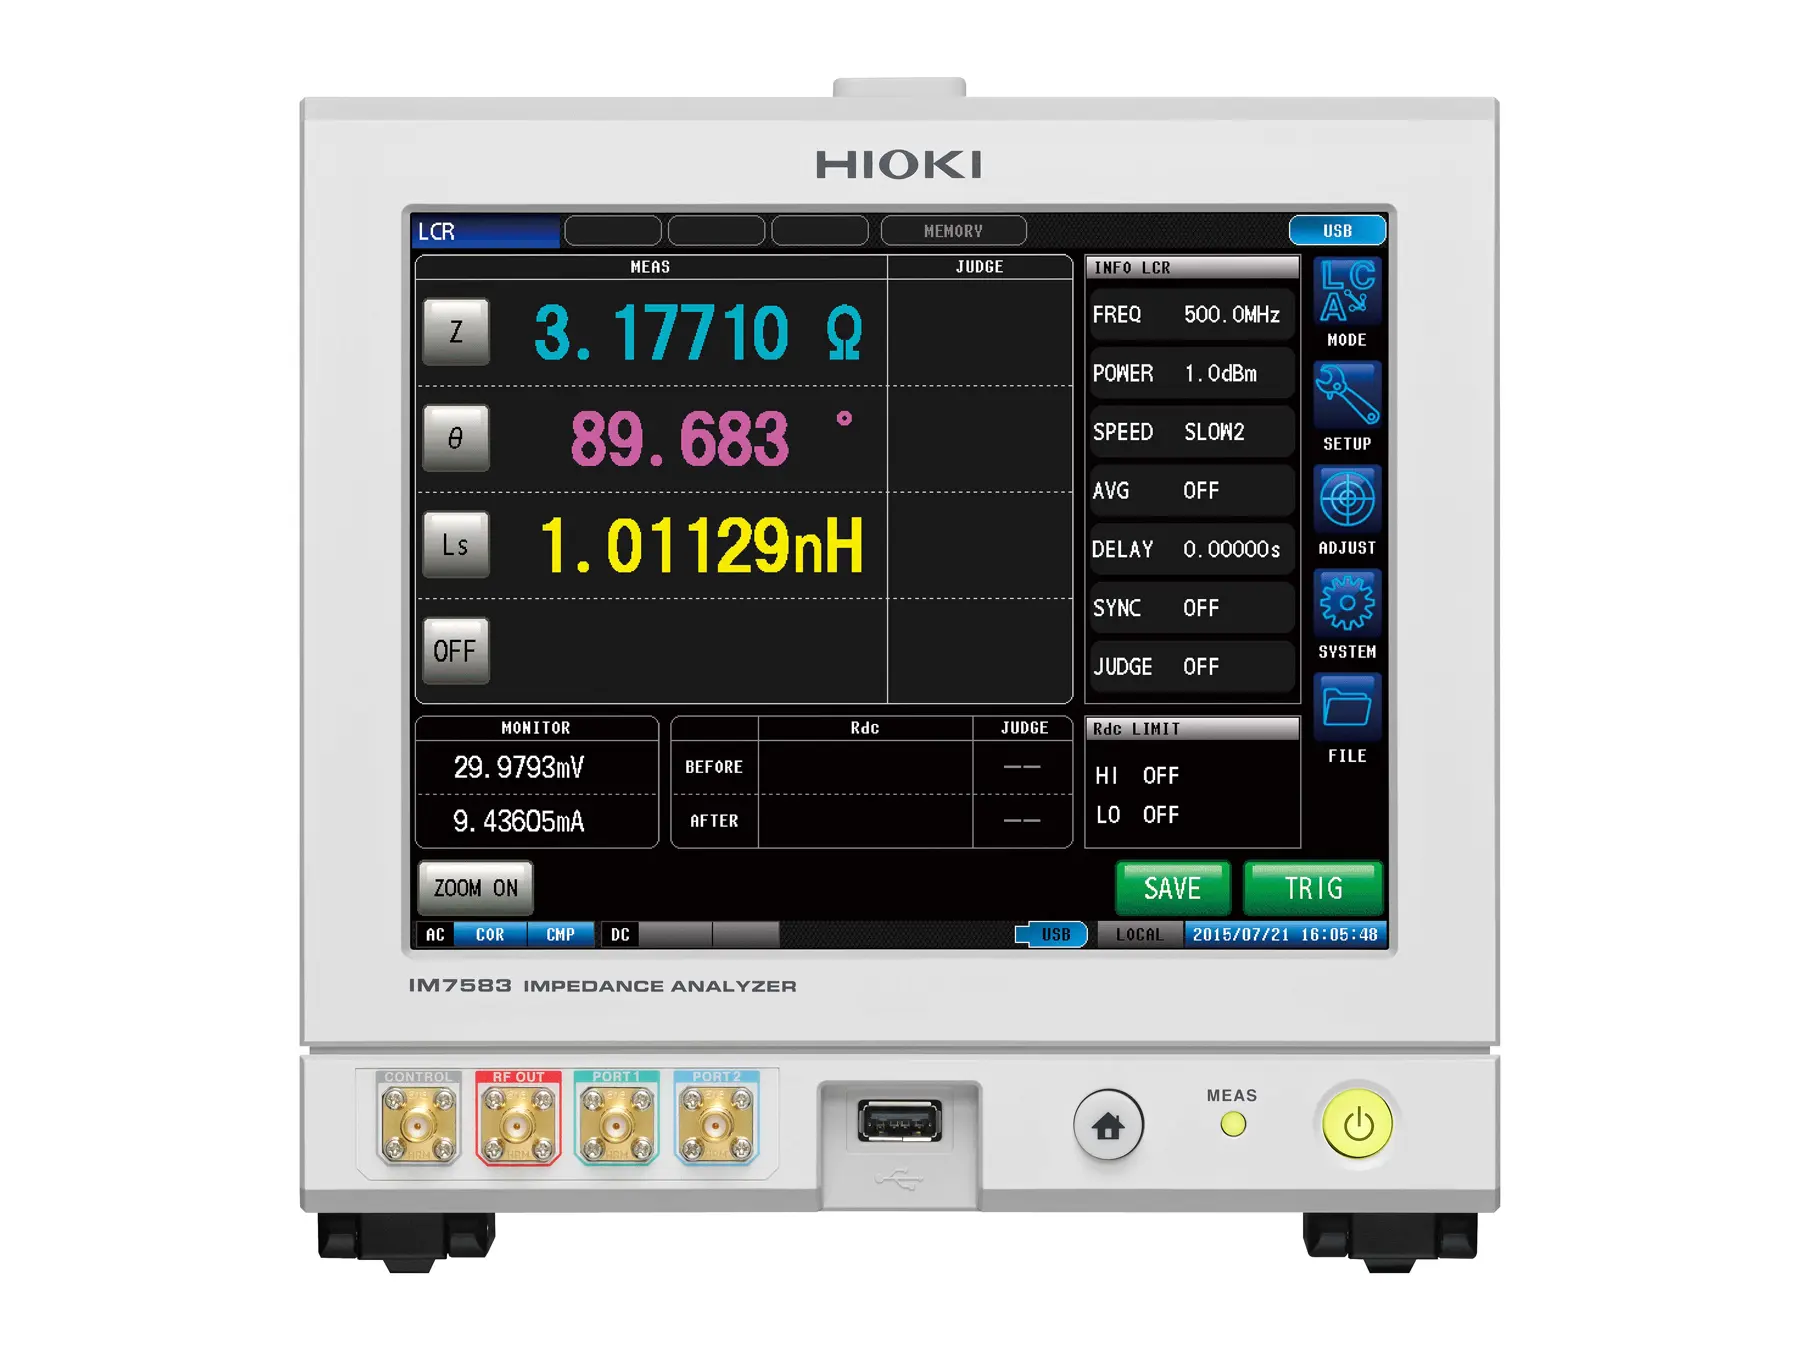
enable controlled excitation of devices under test. The analyzer supports LCR, sweep and continuous measurement modes and provides
evaluation functions such as comparator and BIN judgment, as well as area, peak and spot
analysis. All measurement settings and analysis functions are accessed directly via the
integrated 8.4 inch color touchscreen. Standard interfaces include USB, LAN and EXT I/O,
with optional RS-232C and GP-IB. For more advanced analysis, the IM7587 features an Equivalent Circuit Analysis function
with five representative circuit models and automatic model selection based on measurement
data. In addition to three-element R-L-C models, it also supports a four-element model
designed for piezoelectric device analysis, enabling applications ranging from general
component characterization to resonator evaluation. Test Head and Fixtures
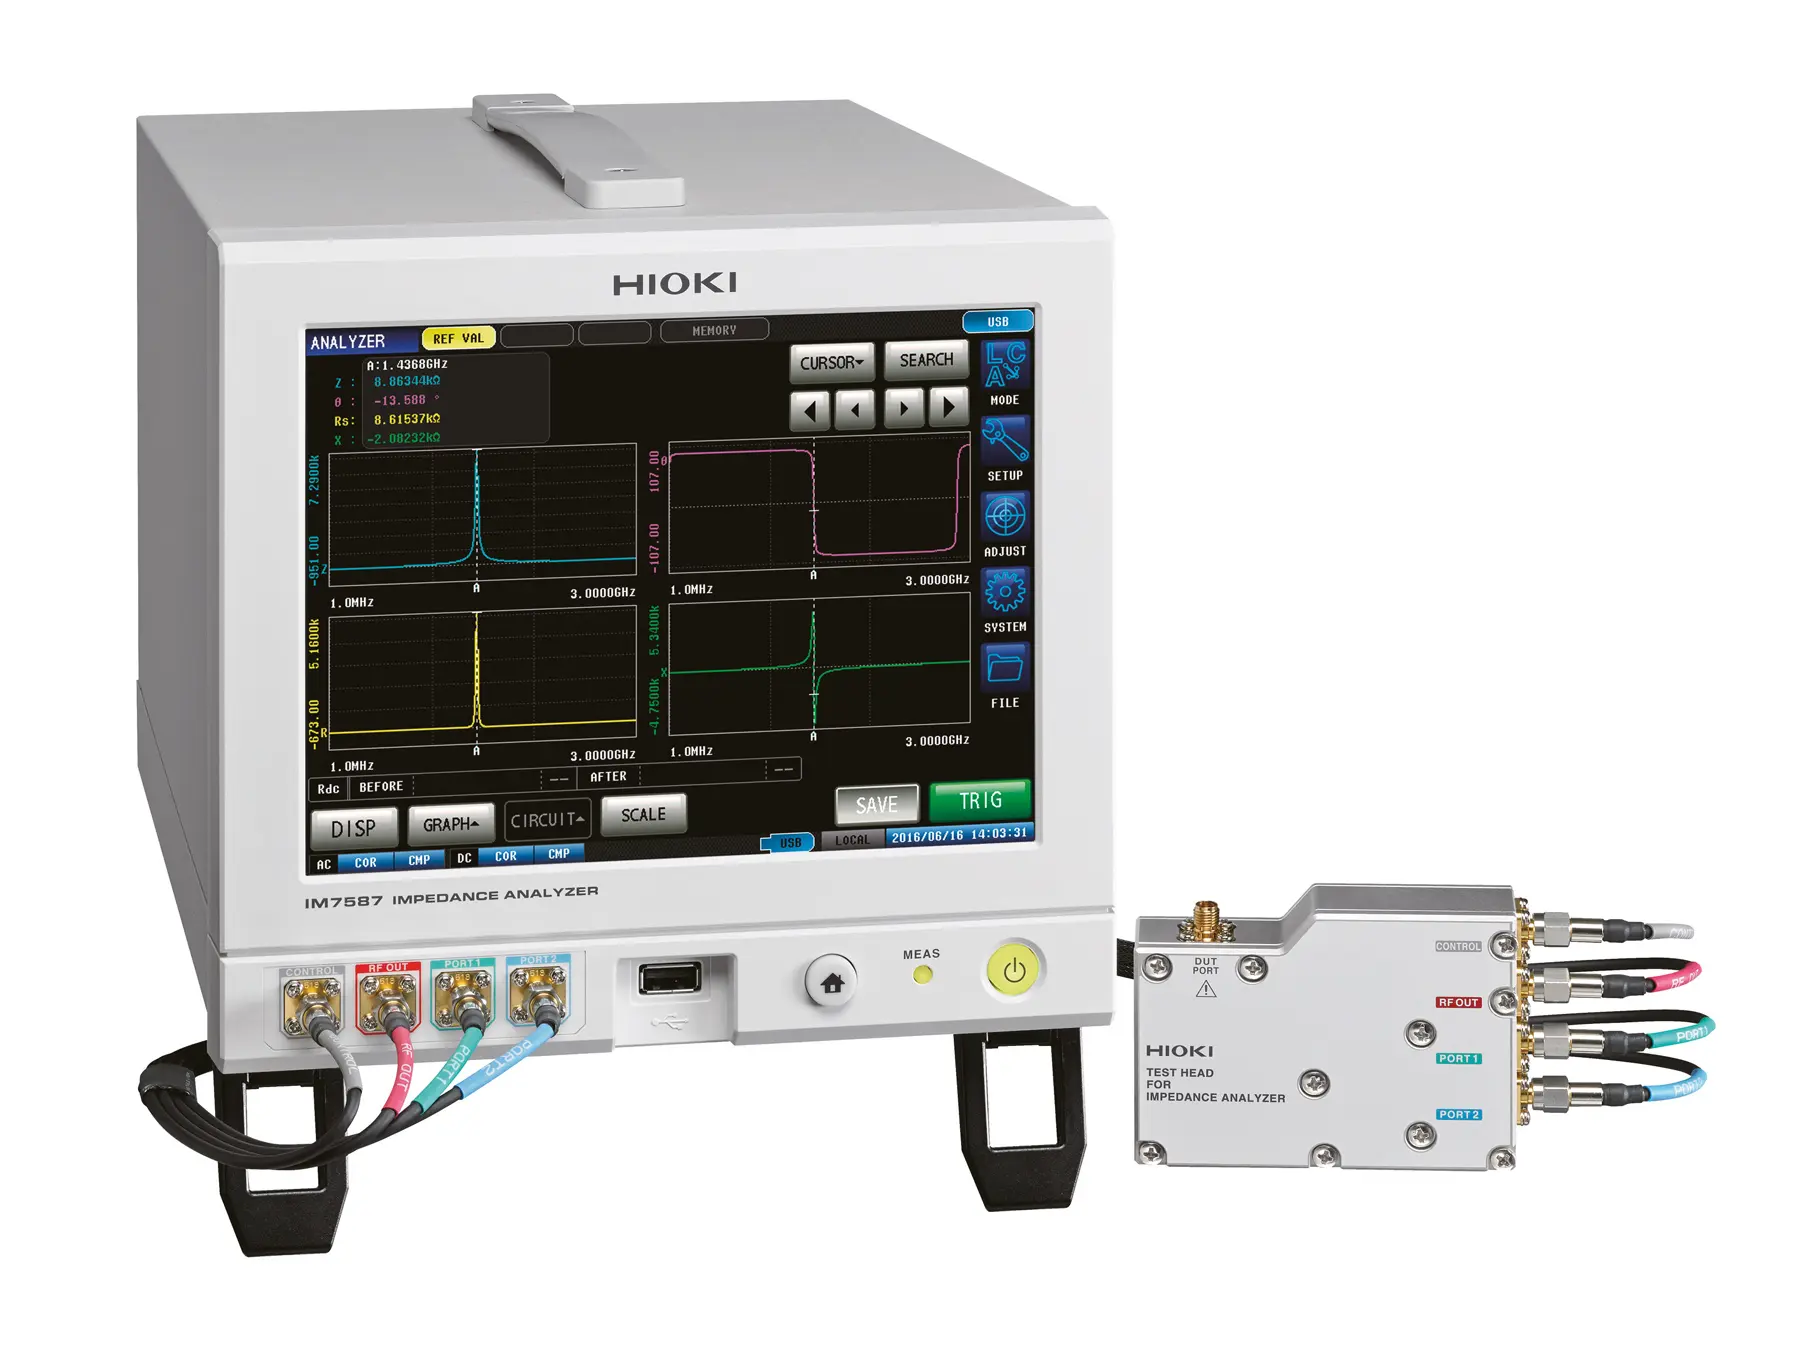
The IM7587 employs a compact, palm-sized test head connected to the main unit by a
specified connection cable. It is available with 1 m or 2 m cable lengths, allowing users to
balance measurement accuracy and installation flexibility. Placing the test head close to the
device under test minimizes signal path length and reduces parasitic inductance and
capacitance that would otherwise affect high-frequency measurements. This design supports
stable and reproducible results up to 3 GHz while reducing bench space requirements in RF
laboratories. For measurements of SMD components, the IM7587 is typically used in combination with the
IM9201 SMD test fixture. The IM9201 is designed for six standard SMD package sizes from
0201 to 1210 and provides stable two-terminal bottom contacts at the component interface.
The contact geometry is designed for measurements across the entire specified
measurement frequency range. Components are positioned on defined contact pads using a
stopper and pusher mechanism, ensuring correct alignment and repeatable placement. This
reduces measurement variation and enables precise characterization of SMD RF
components such as chip inductors, ferrite beads and filters. For stable mounting, the IM9201 test fixture is installed on the IM9200 test fixture stand. The
stand provides a secure base and a defined mechanical alignment between the test head
and the fixture and includes a magnifier to facilitate handling of small components. The
IM9906 adapter is required to connect the 7 mm interface of the test fixture to the analyzer
test head’s 3.5 mm connector. Calibration and Measurement Integrity
The optional IM9905 calibration kit provides OPEN, SHORT and LOAD reference standards
for correction of system-related measurement errors in high-frequency impedance
measurements up to 3 GHz. The calibration compensates parasitic effects in the
measurement path up to the defined reference plane, including the analyzer test head and
connecting interfaces. The calibration standards are connected via the same IM9906 adapter
used for test fixtures. Comprehensive contact check functions, including DCR testing, Hi-Z reject and waveform
verification, are used to verify contact quality before and, if required, after measurement. This
helps prevent invalid results caused by insufficient probe contact or unstable component
placement. Developed and manufactured in Japan, the IM7587 is designed for stable
measurement performance over time in measurement and test environments with high
demands on long-term stability.
Key Specifications
Measurement frequency: 1 MHz to 600 MHz Typical analog measurement time: 0.5 msBasic accuracy: ±0.65% (Z, reading), ±0.38°(Phase) Typical repeatability: ±0.07% (e.g., 1 nH at 3 GHz) Test signal levels: −40.0 dBm to +1.0 dBm Typical Applications
Characterization of HF components such as chip inductors, ferrite beads, filters and
resonators Frequency-dependent impedance analysis for component evaluation and circuit
design Resonance and peak evaluation of HF components across frequency sweepsComparator- and BIN-based pass/fail testing of high-frequency components in R&D
and production-related environmentsModelIM7587IM7585IM7583Measurement frequency1 MHz to 3 GHz1 MHz to 1.3 GHz1 MHz to 600 MHz
Detailed Product OverviewAnalysis of HF components in a wide range of electronic applications regularly requires
impedance measurements up to several hundreds of megahertz. With a frequency range
from 1 MHz to 600 MHz, the IM7583 supports characterization of components such as chip
inductors, ferrite beads, filters and resonators in HF circuit design. Measurement Performance and Analysis Functions
High measurement accuracy of ±0.65% for impedance and ±0.38° for phase ensures reliable
impedance evaluation across the specified frequency range. A typical repeatability of
approximately ±0.07% provides reproducible results under defined measurement conditions.
Fast frequency sweeps are supported by a typical measurement time of 0.5 ms, while test
signal levels from −40.0 dBm to +1.0 dBm allow controlled excitation of the device under test. The analyzer supports LCR, sweep and continuous measurement modes and provides
evaluation functions such as comparator and BIN judgment, as well as area, peak and spot
analysis. All measurement settings and analysis functions are accessed directly via the
integrated 8.4 inch color touchscreen. Standard interfaces include USB, LAN and EXT I/O,
with optional RS-232C and GP-IB. For extended analysis, the IM7583 provides an equivalent circuit analysis function with
multiple representative circuit models and automatic model selection based on measured
data. The available models support impedance-based evaluation of HF components and
enable systematic characterization across frequency sweeps. Test Head and Fixtures
The IM7583 employs a compact, palm-sized test head connected to the main unit via a
specified connection cable. It is available with 1 m or 2 m cable lengths, allowing users to
balance measurement accuracy and installation flexibility. Placing the test head close to the
device under test minimizes signal path length and reduces parasitic inductance and
capacitance that would otherwise affect high-frequency impedance measurements. This
design supports stable and reproducible results while reducing bench space requirements in
laboratory environments. For measurements of components with different package types, the IM7583 is typically used
in combination with the IM9202 test fixture. The IM9202 supports impedance measurements
up to 600 MHz and is designed for both surface-mount and leaded components, providing a
stable two-terminal contact interface. Defined contact geometry ensures reproducible
placement of the device under test and reliable electrical contact, reducing measurement
variation and enabling accurate characterization of HF components. For dedicated SMD measurements, the IM7583 can also be used with the IM9201 SMD test
fixture. For stable mounting, the selected test fixture is mounted on the IM9200 stand, which
provides a secure base and a defined mechanical connection between the test head and the
fixture and includes a magnifier to facilitate handling of small components. The IM9906
adapter is required to connect the 7 mm interface of the test fixture to the analyzer test
head’s 3.5 mm connector. Calibration and Measurement Integrity
The optional IM9905 calibration kit provides open, short and load reference standards for
correction of system-related measurement errors. By compensating for parasitic effects
introduced by fixtures and the test head, the kit supports stable measurement accuracy over
time. Connection of the calibration standards is performed via the same IM9906 adapter
used for the test fixture. The optional IM9905 calibration kit supplies OPEN, SHORT and LOAD reference standards
for reducing system-related measurement deviations in high-frequency impedance
measurements up to 3 GHz. Calibration is applied to the measurement path up to the defined reference plane, covering the analyzer test head and the associated connection interfaces.
The calibration standards are connected using the IM9906 adapter, which is also used for
test fixtures
Key SpecificationsMeasurement frequency: 100 kHz to 300 MHz Typical analog measurement time: 0.5 msBasic accuracy: ±0.72% (Z, reading), ±0.41°(Phase) Typical repeatability: ±0.07% (e.g., 1 nH at 3 GHz) Test signal levels: −40.0 dBm to +7.0 dBm Typical ApplicationsCharacterization of power inductors, common-mode filters and ferrite components Frequency-dependent impedance analysis of components used in power electronics
and noise suppression design Resonance and peak evaluation of inductive and filtering structures PASS/FAIL screening and comparator-based testing of HF components in R&D and
production-related environments ModelIM7581IM7580AMeasurement frequency100 kHz to 300 MHz1 MHz to 300 MHz
Detailed Product OverviewImpedance measurements up to 300 MHz support analysis of HF components used in power
electronics and noise suppression applications. With a frequency range from 100 kHz to 300
MHz, the IM7581 supports characterization of components such as power inductors,
common-mode filters, ferrite components and filter structures. Measurement Performance and Analysis Functions With a basic accuracy of ±0.72% of impedance and ±0.41° of phase, the IM7581 is designed
for precise impedance measurements up to 300 MHz. Test signal levels from −40.0 dBm to
+7.0 dBm support measurement conditions that require higher excitation of the device under
test. Typical repeatability of approximately ±0.07% supports reproducible measurement
results under defined conditions across its entire frequency range. A typical measurement
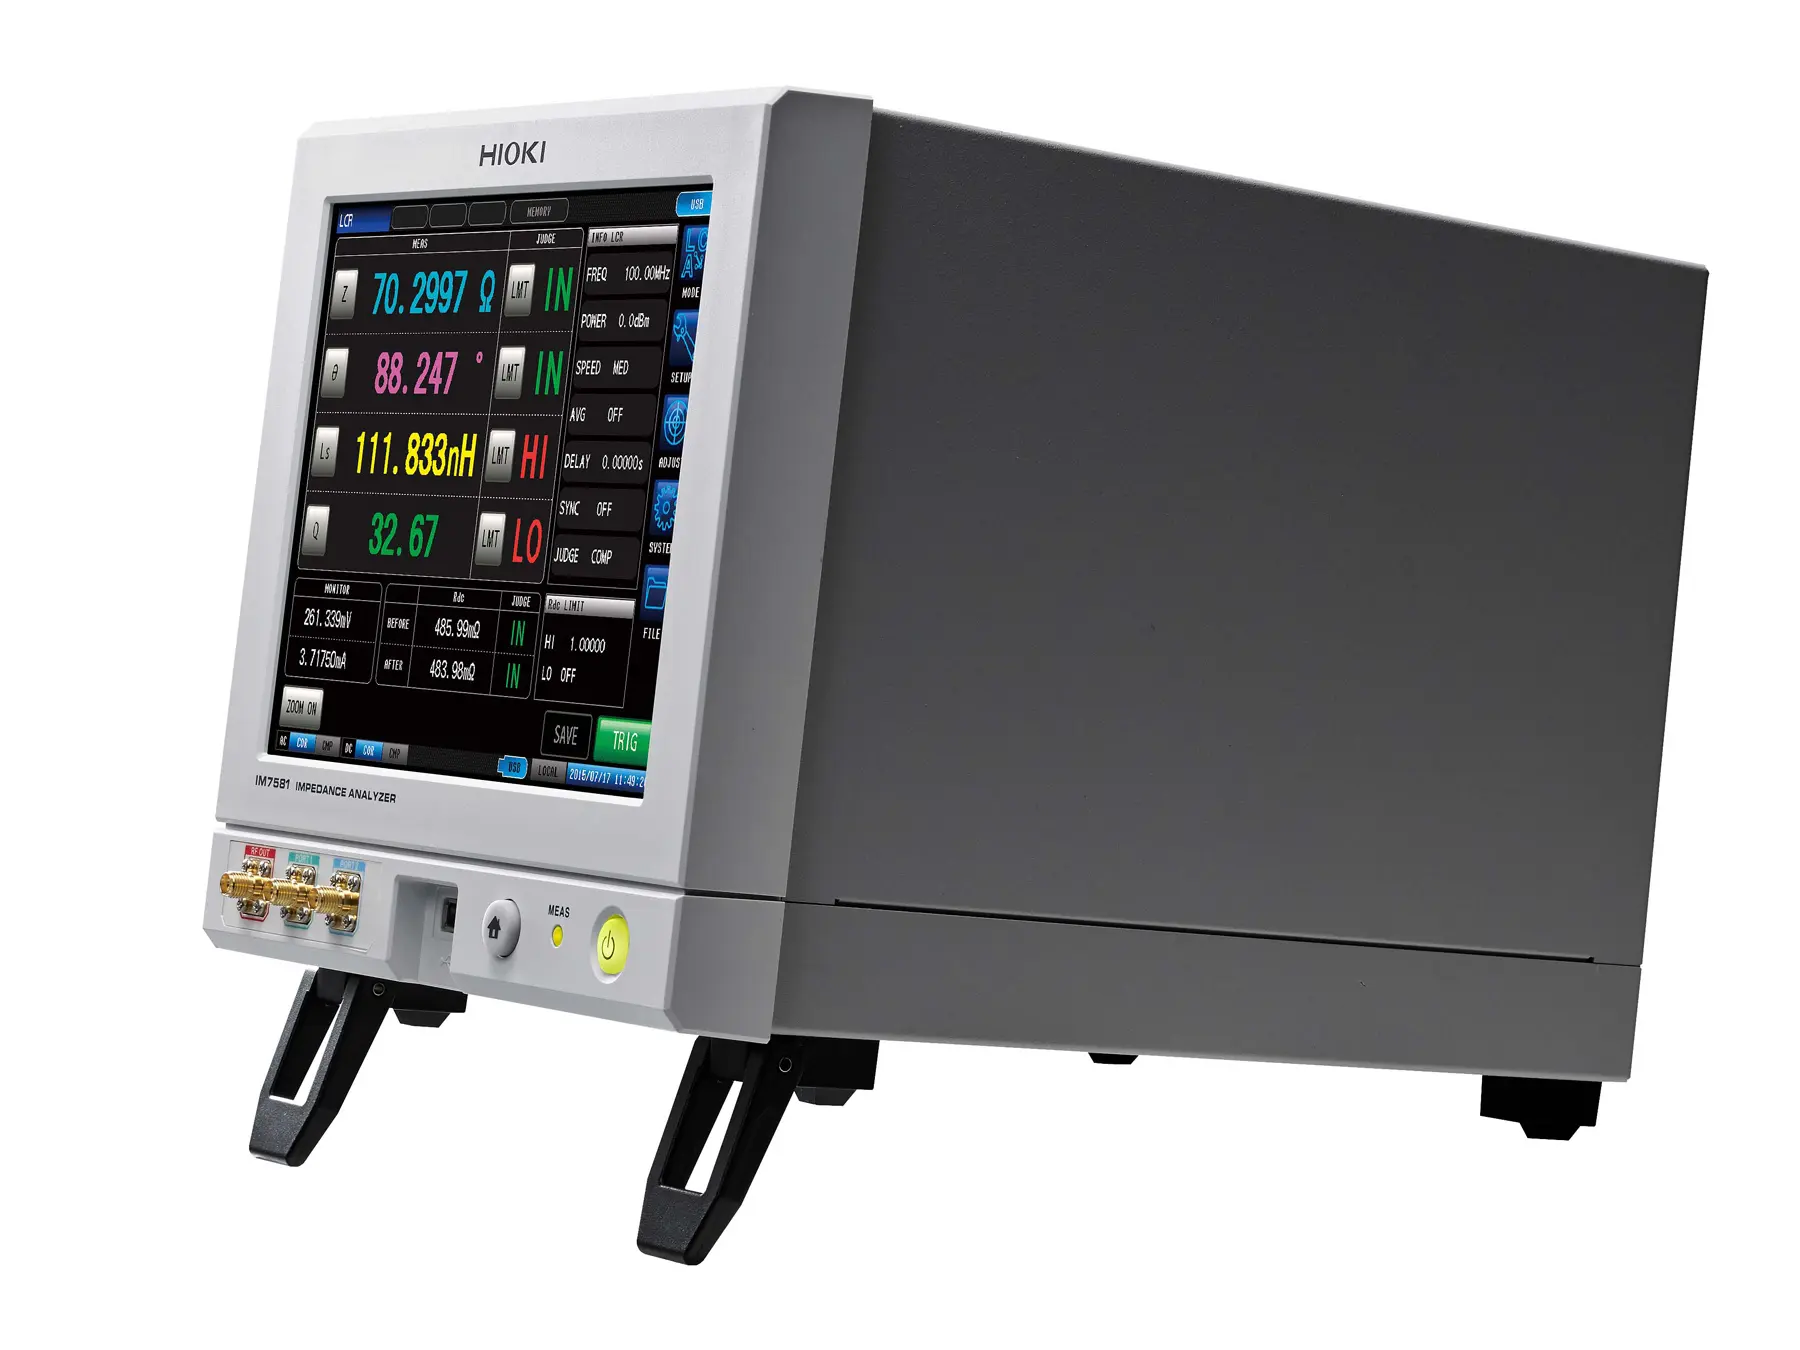
time of 0.5 ms enables fast frequency sweeps without compromising measurement stability. The analyzer supports LCR, sweep and continuous measurement modes and provides
evaluation functions such as comparator and BIN judgment, as well as area, peak and spot
analysis. All measurement settings and analysis functions are accessed directly via the
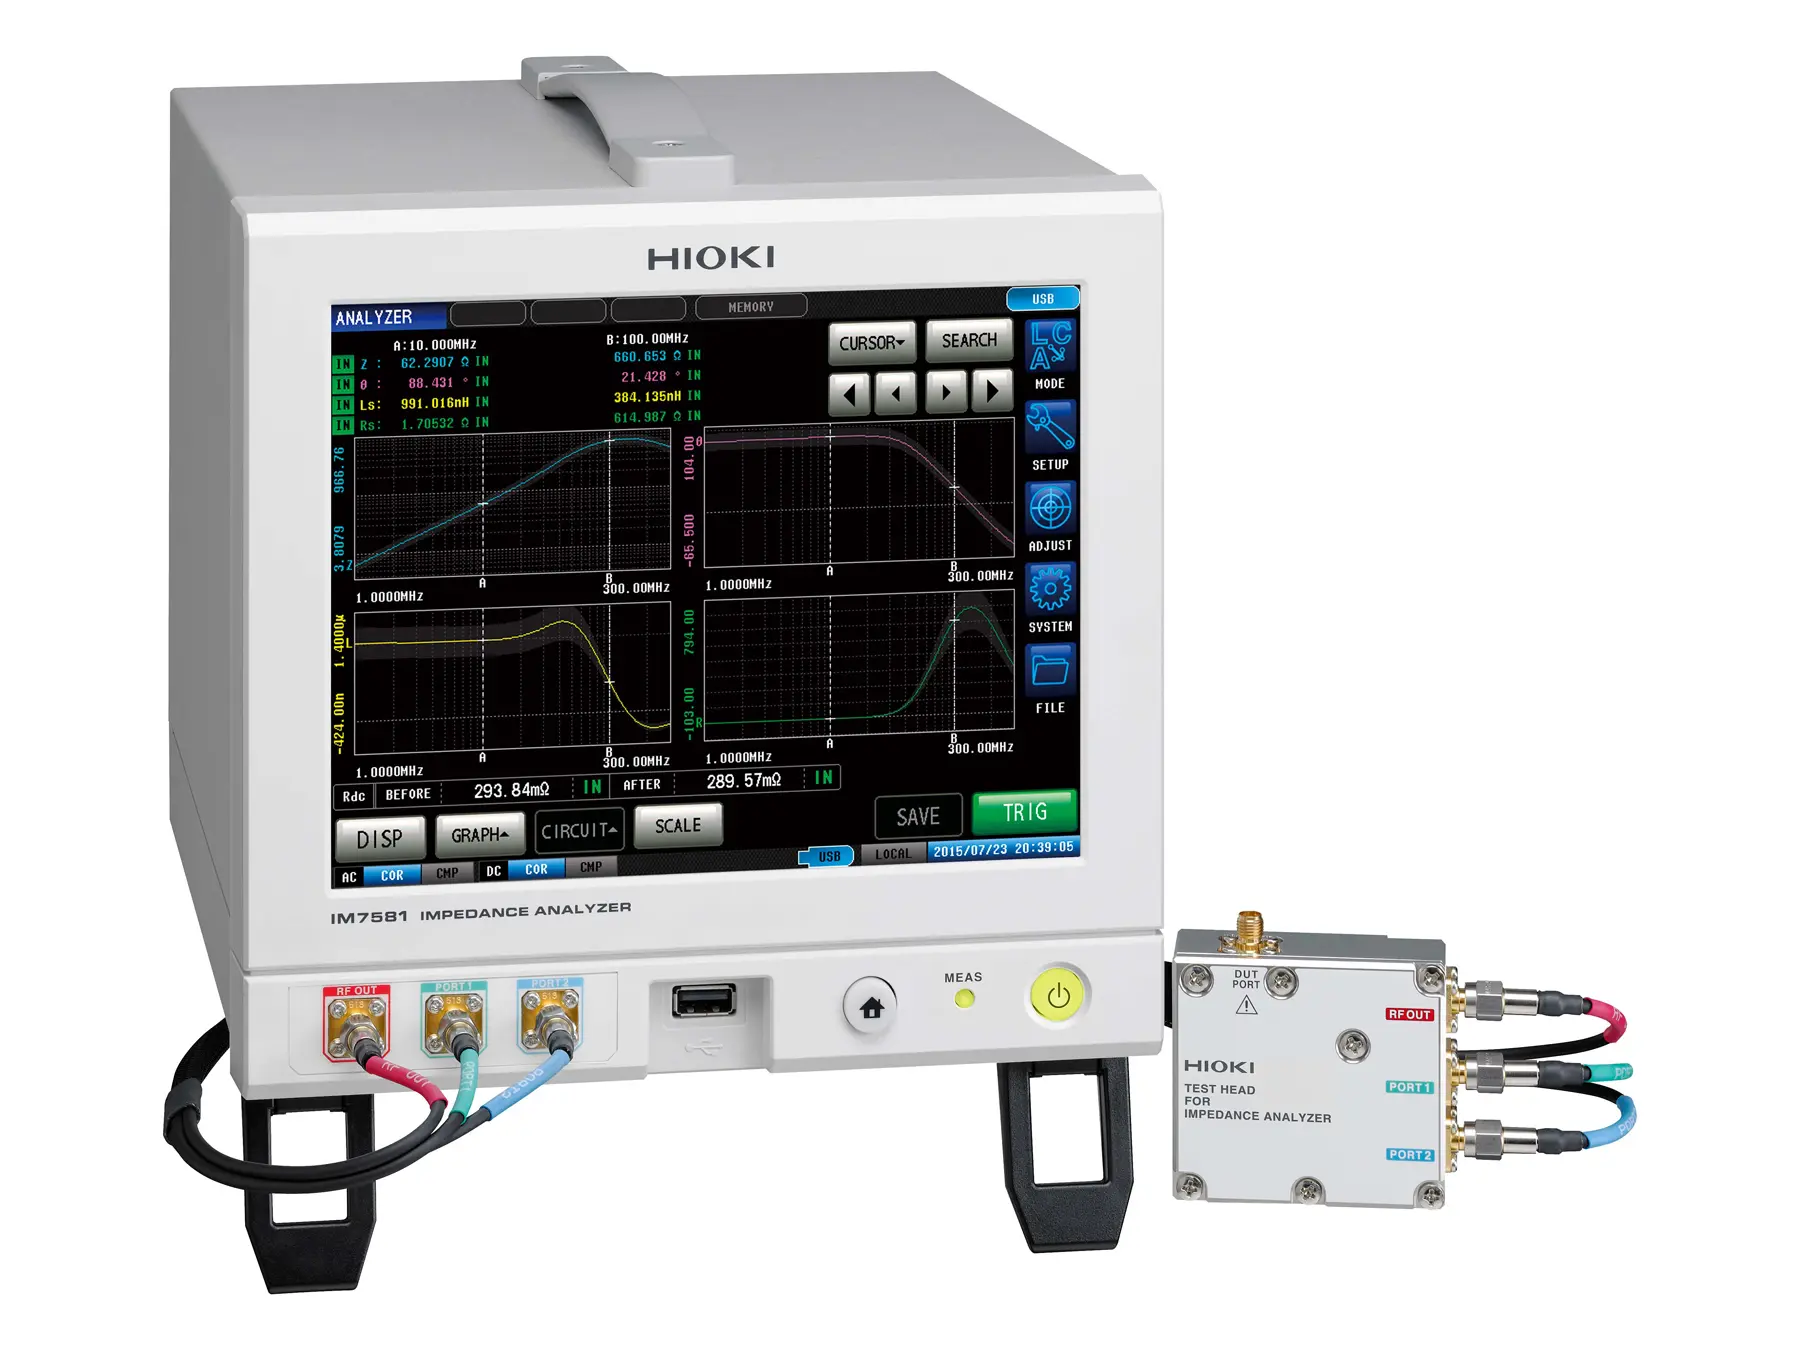
integrated 8.4 inch color touchscreen. Standard interfaces include USB, LAN and EXT I/O,
with optional RS-232C and GP-IB. For further analysis, the IM7581 provides an equivalent circuit analysis function with
representative circuit models and automatic model selection based on measurement data.
This supports impedance and resonance evaluation of components within its specified
frequency range.Test Head and Fixtures
The IM7581 employs a compact, palm-sized test head connected to the main unit by a
specified connection cable. It is available with 1 m or 2 m cable lengths, allowing users to
balance measurement accuracy and installation flexibility. Placing the test head close to the
device under test minimizes signal path length and reduces parasitic inductance and
capacitance that would otherwise affect high-frequency measurements. This design supports
stable and reproducible results up to 300 MHz while reducing bench space requirements in
high-frequency measurement environments. For measurements of components with different package types, the IM7581 is typically used
in combination with the IM9202 test fixture. The IM9202 is designed for impedance
measurements up to 600 MHz and supports both surface-mount and leaded components
with a stable two-terminal contact interface. Defined contact geometry ensures reproducible
placement of the device under test and reliable electrical contact, reducing measurement
variation and enabling accurate characterization of inductive and filtering components within
the specified frequency range. For stable mounting, the IM9202 test fixture is mounted on the IM9200 stand. The stand
provides a secure base and a defined mechanical connection between the test head and the
fixture and includes a magnifier to facilitate handling of small components. The IM9906
adapter is required to connect the 7 mm interface of the test fixture to the analyzer test
head’s 3.5 mm connector. Calibration and Measurement IntegrityWith the optional IM9905 calibration kit, OPEN, SHORT and LOAD reference standards are
available to correct system-related errors in high-frequency impedance measurements up to
3 GHz. The calibration addresses parasitic influences within the measurement path up to the
specified reference plane, including the analyzer test head and its interfaces. The calibration
standards are connected via the IM9906 adapter, which is shared with test fixture
connections.Integrated contact check functions, including DCR testing, Hi-Z reject and waveform
verification, are used to assess contact quality before and, if necessary, after measurement.
This reduces the risk of invalid results caused by poor electrical contact or unstable
component positioning. Developed and manufactured in Japan, the IM7581 is intended for reliable long-term operation in measurement and test environments with high requirements
for stability over time.